Configuration
Finding and Launching Blender
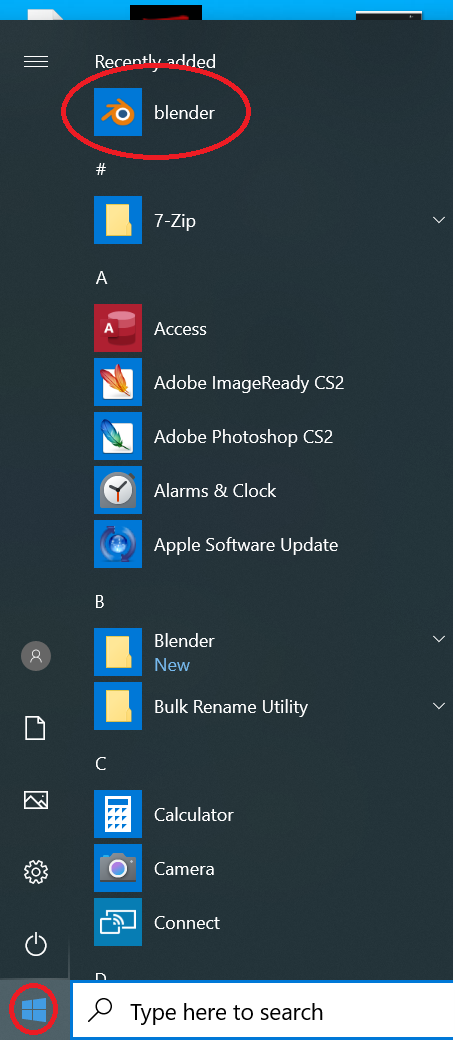
Depending on how you have installed Blender, you may see a shortcut on your desktop. Additionally, if you have just completed its installation, you should find it at the top of the dialog under “Recently added”, when you click on the Microsoft Start Window icon in the lower left corner of your desktop. Click the Blender icon to launch it.
Go to Preferences
Click on the “Edit” menu to show its menu selections.
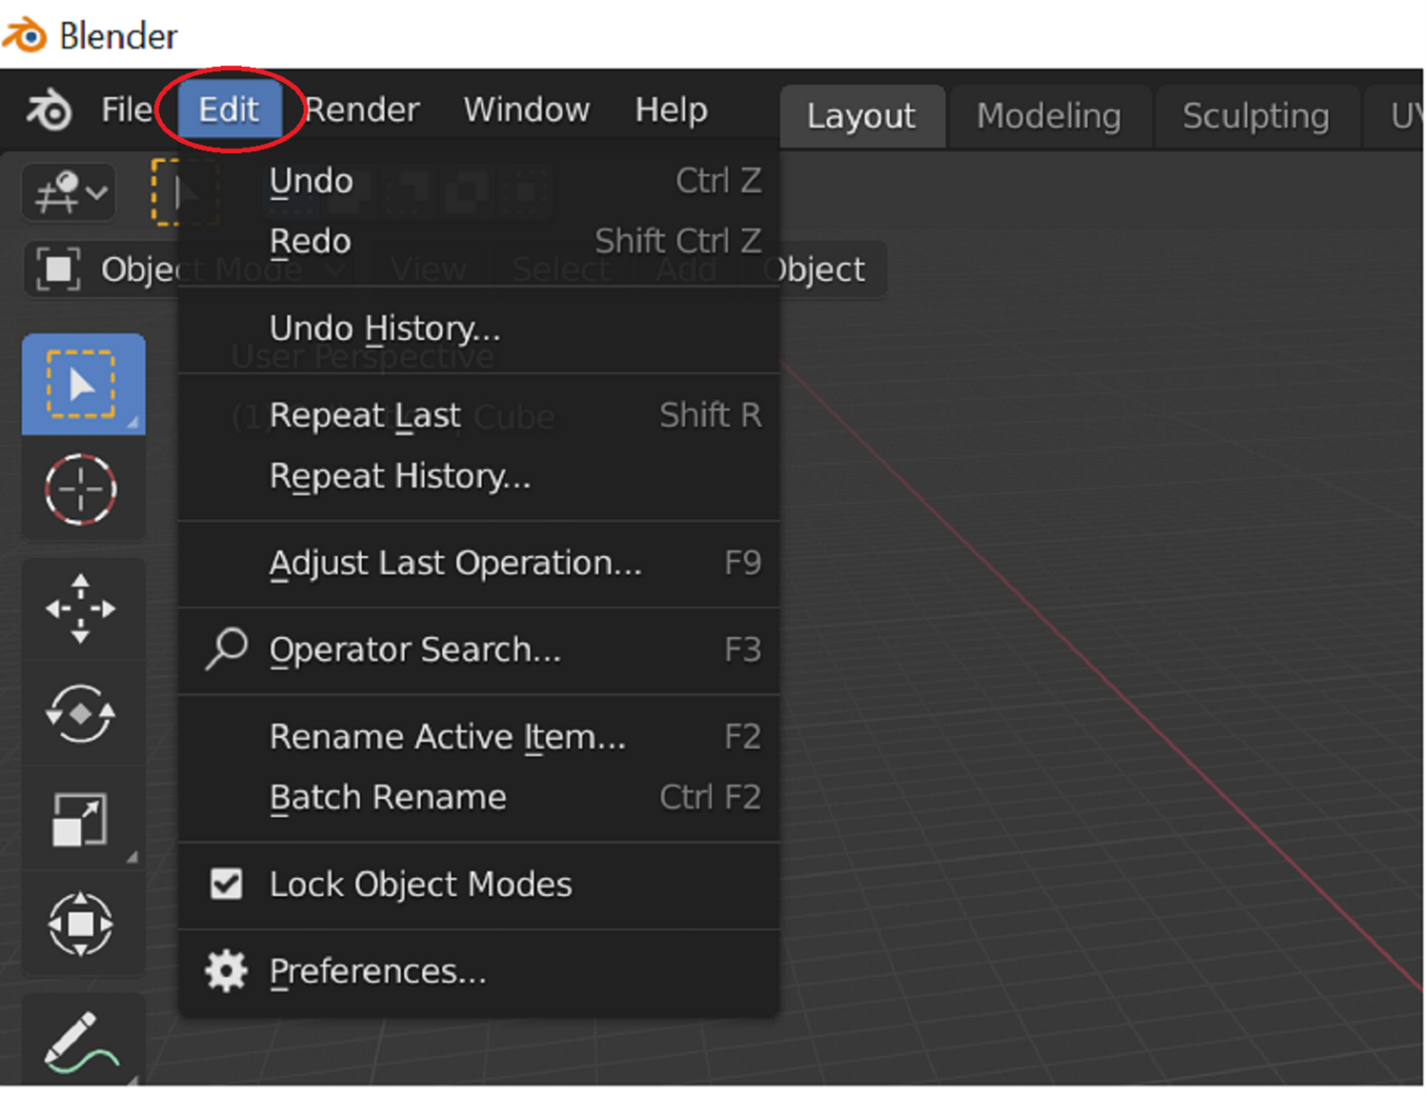
Click on “Preferences…”
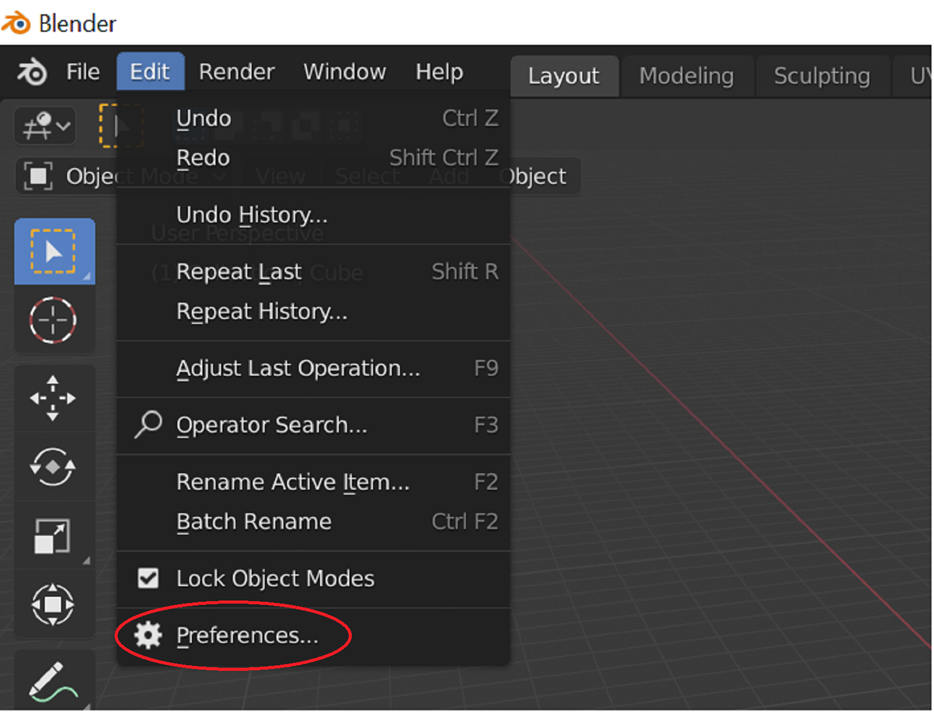
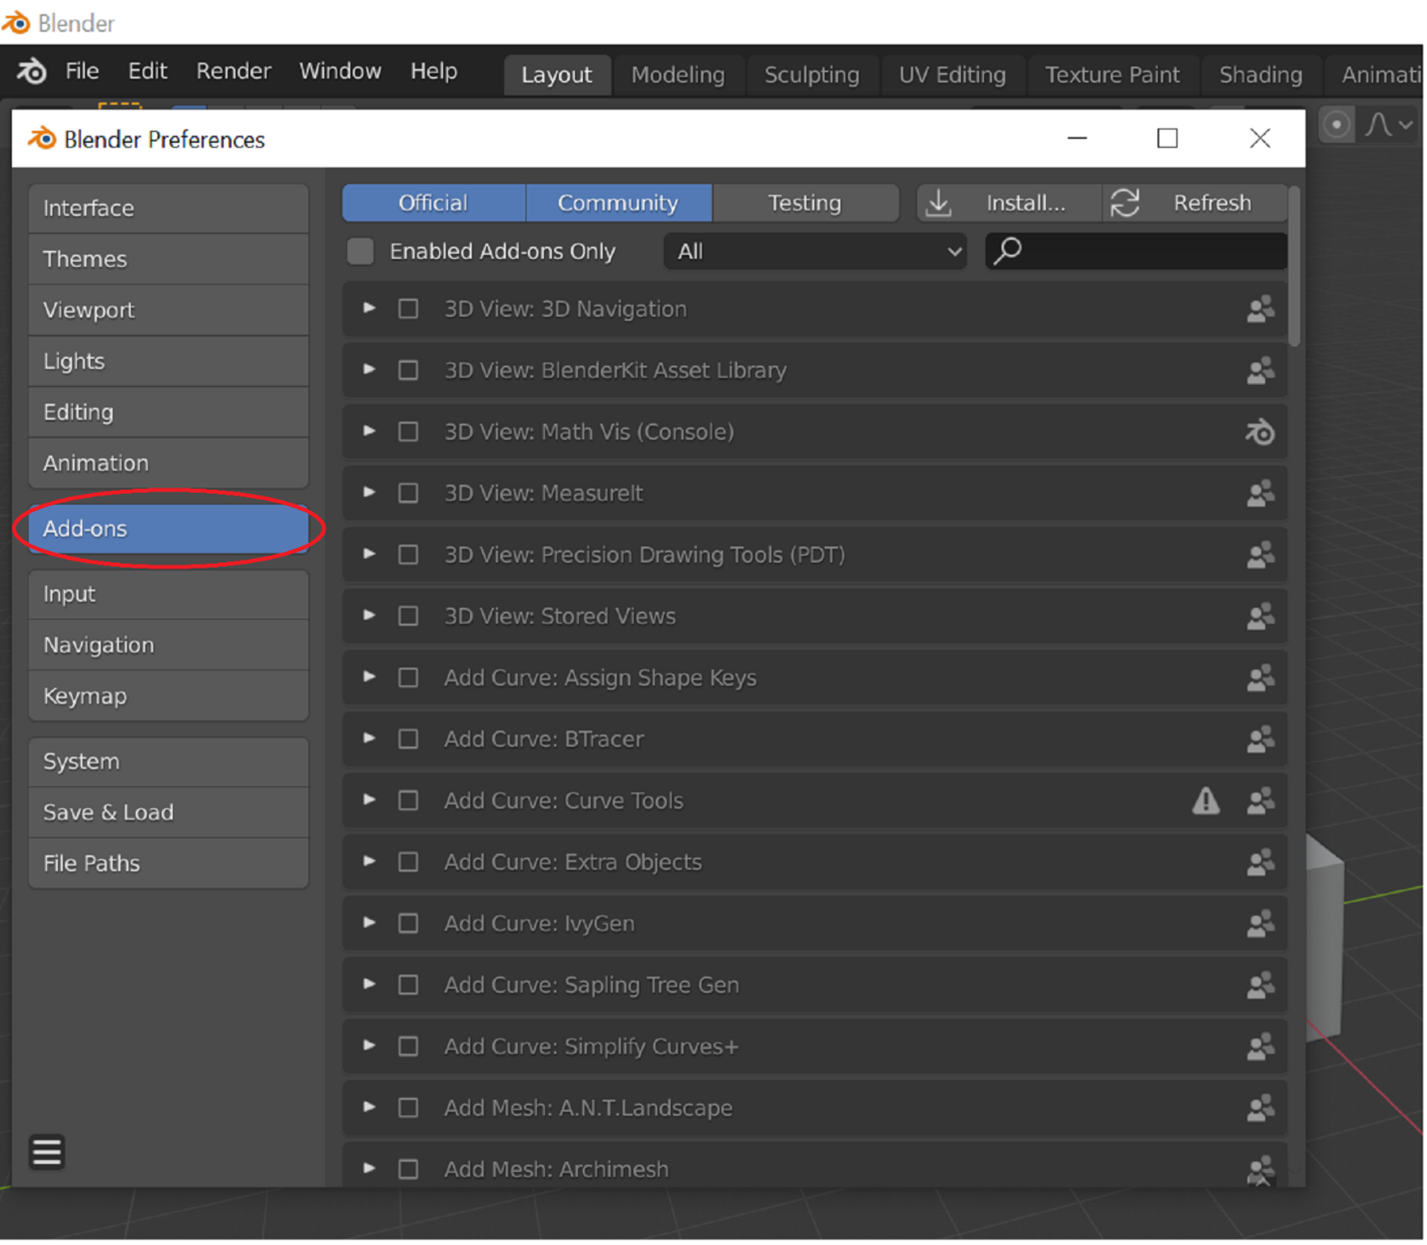
This will open the Preferences dialog.
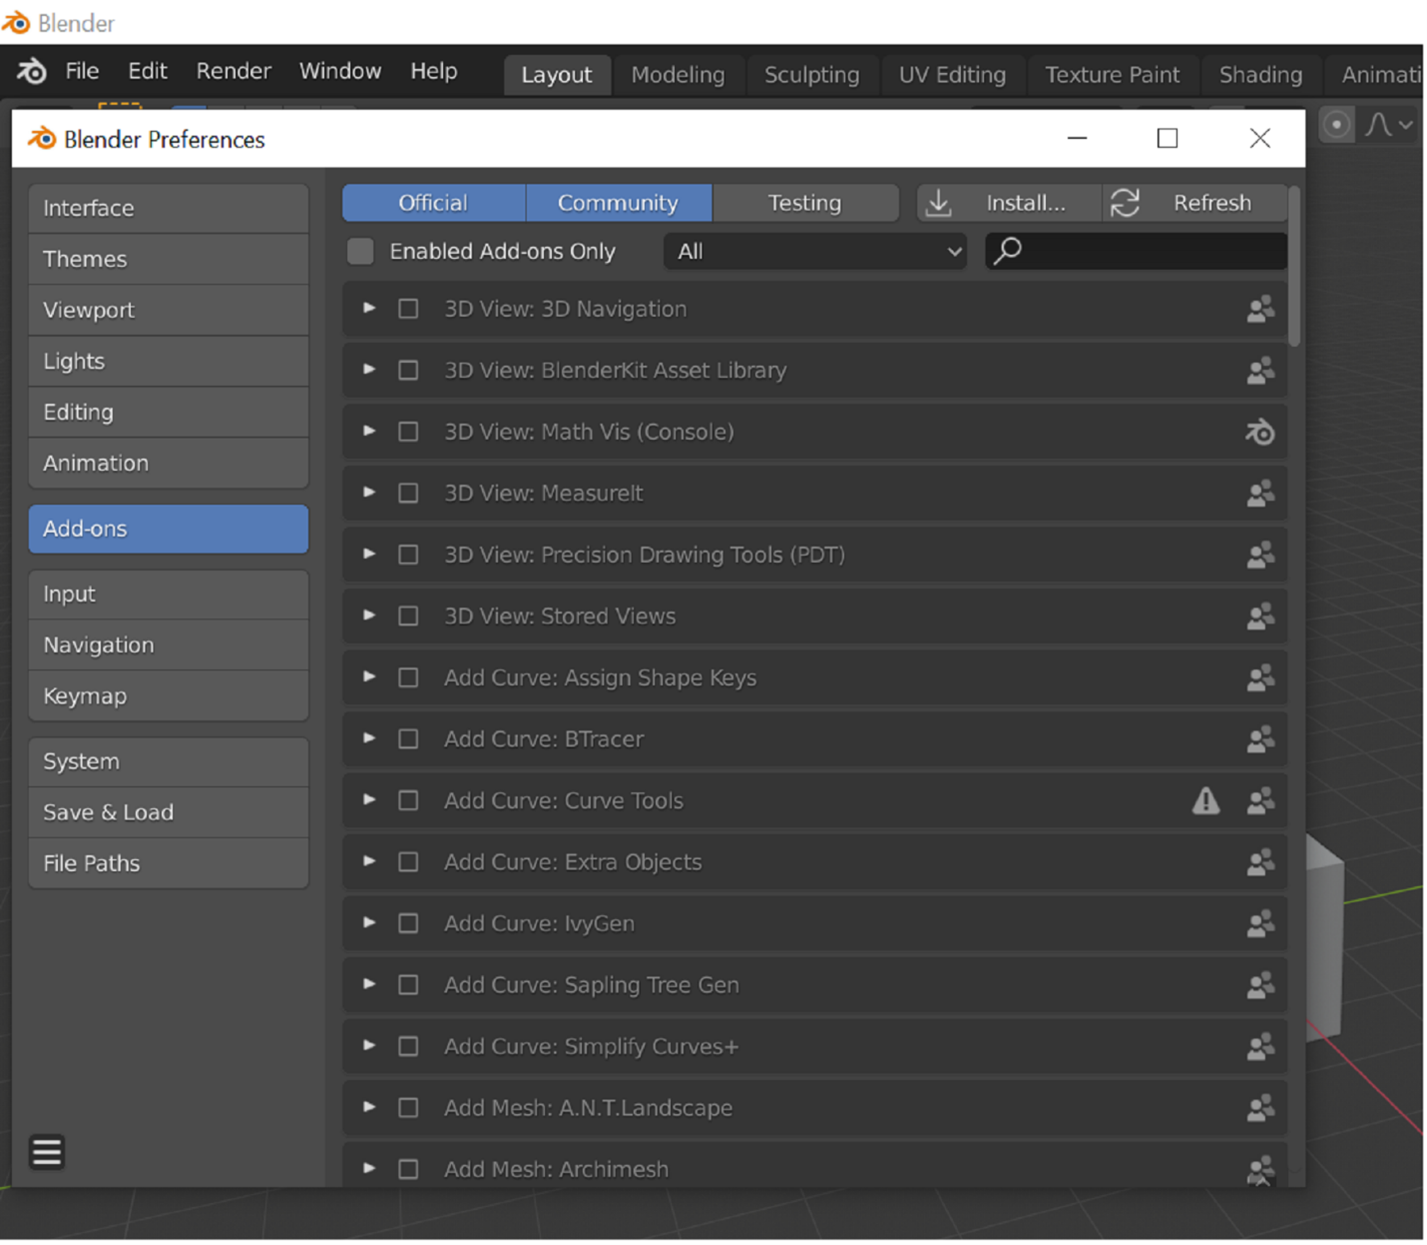
Filter to Enabled Add-ons
Check the “Enabled Add-ons Only” box to limit what is shown. You will likely see “Assets:Tangent Labs Asset Manager” in the list of entries. If not, you can use the search field to find it.
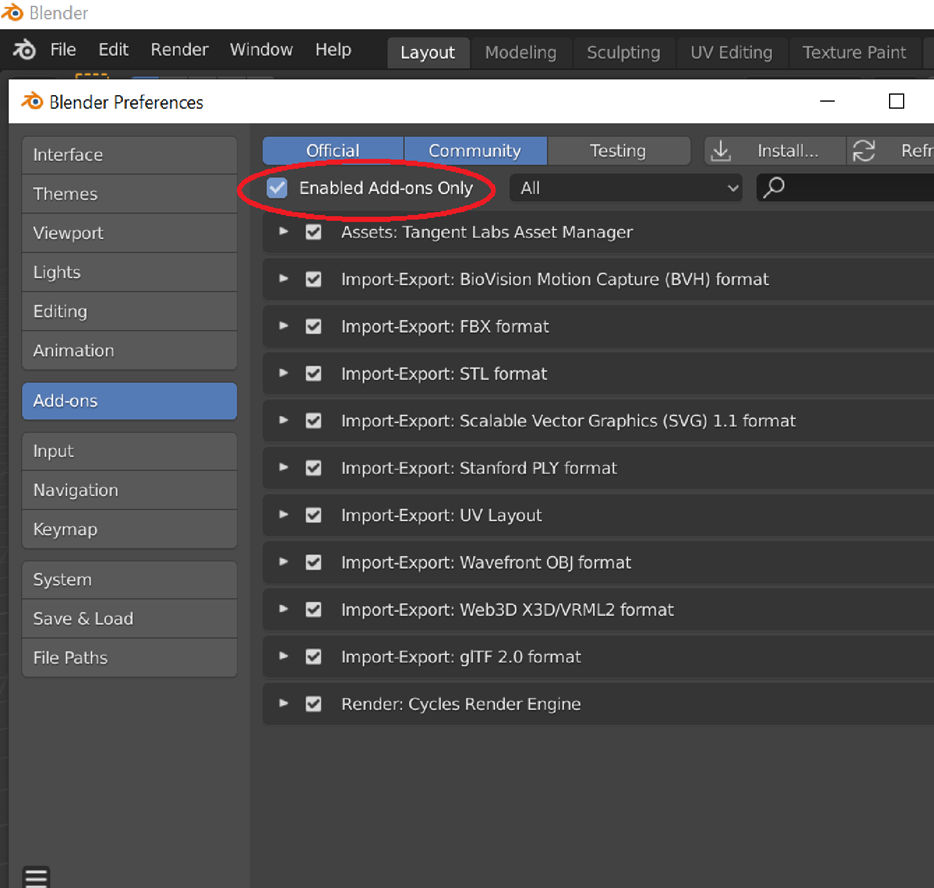
Expose Asset Manager Preferences
Click the Add-on expansion widget in the left column of the “Assets: LoUPE Asset Manager” entry.
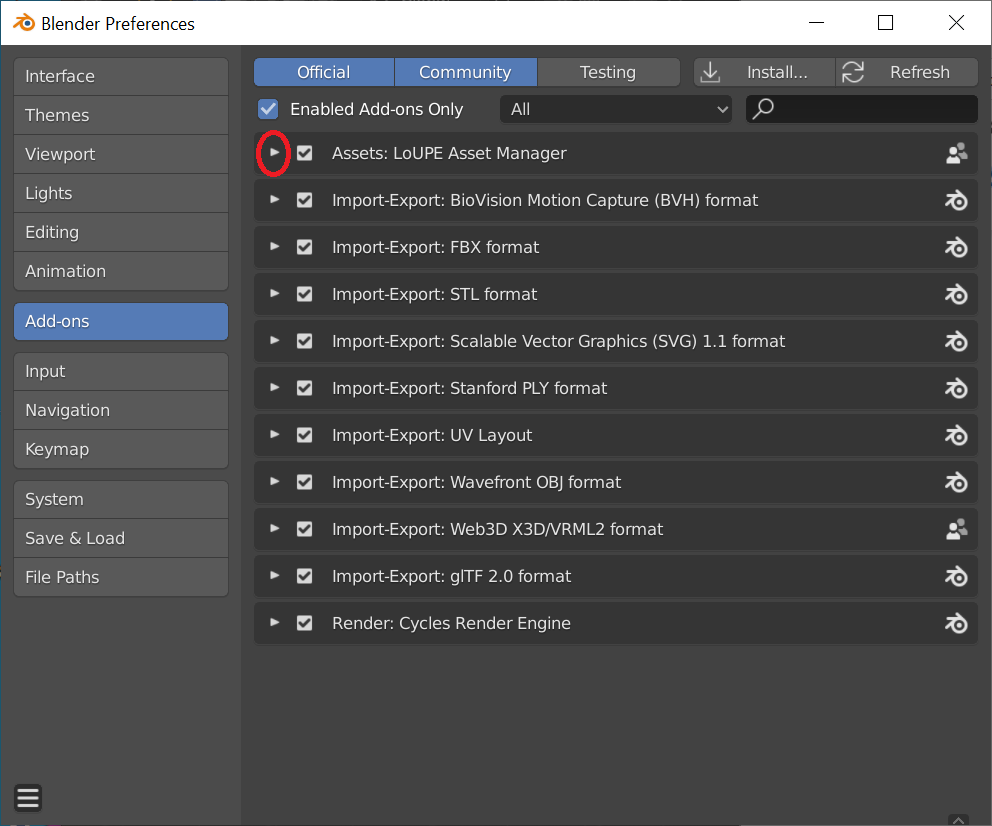
The detail fields of the Add-on will be shown.
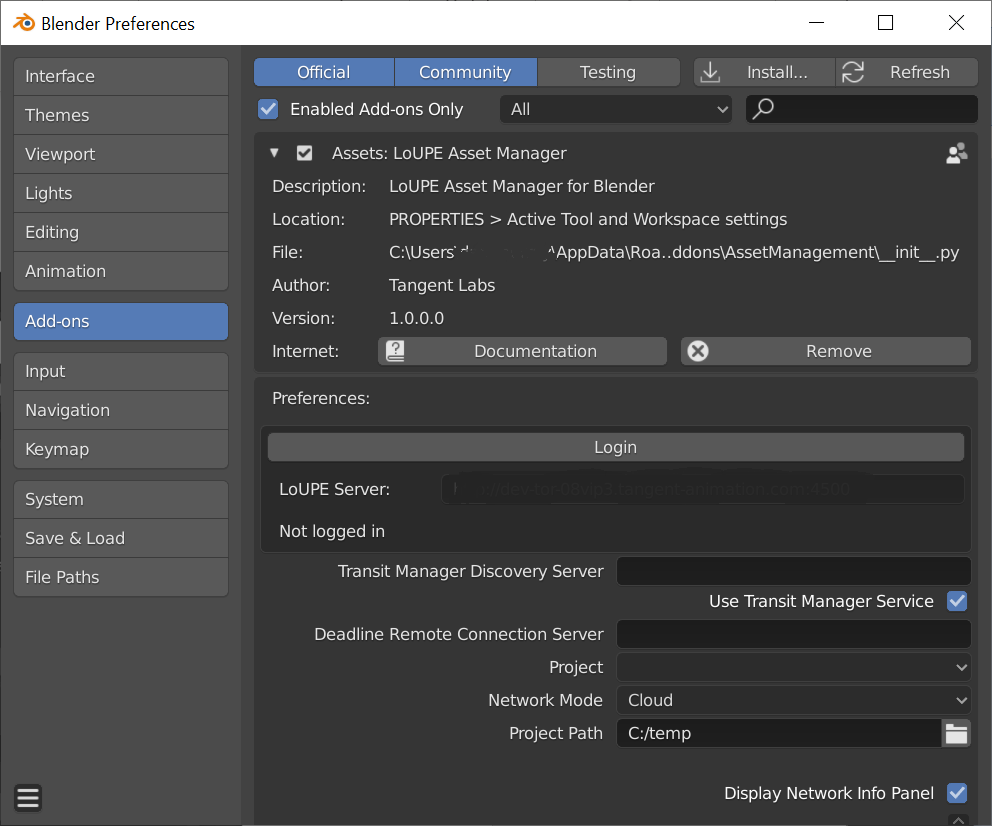
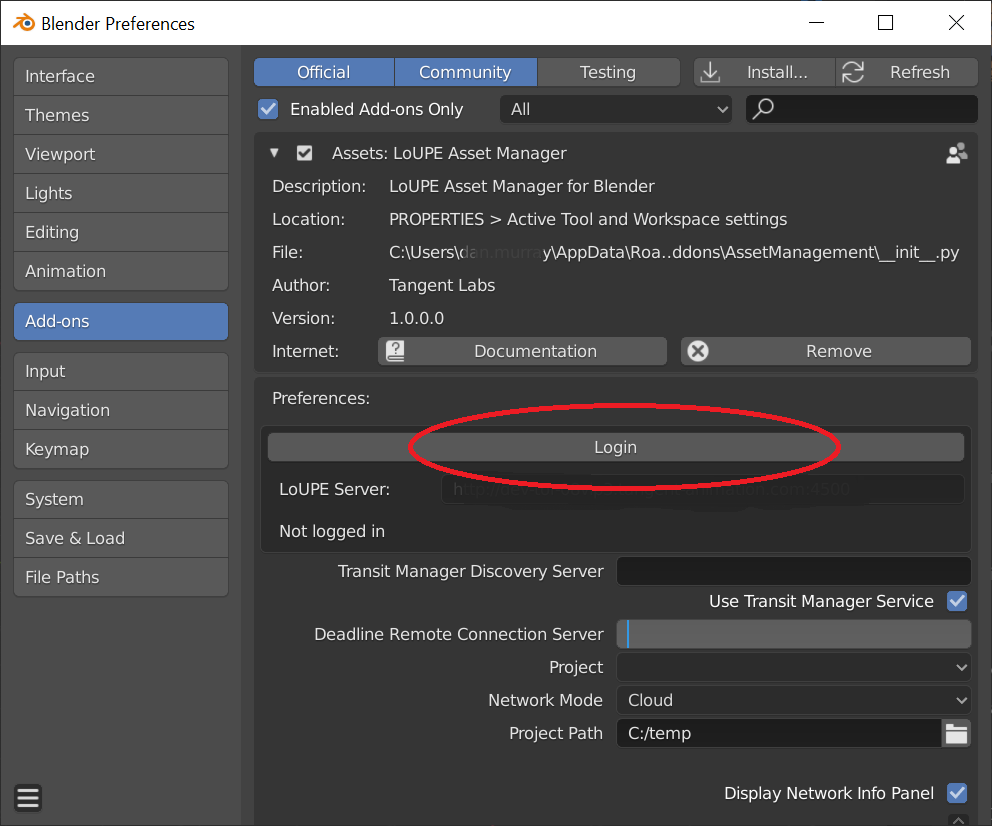
Enter Server Address and Login Credentials
You should have been sent your LoUPE instance address (URL) and Admin login account details from Tangent Labs. Copy the text for your instance URL and paste it into the “Server” input field. Enter your login credentials in the “Username” and “Password” fields, then click “OK”.
The server URL must be followed by a port number - :4500. That is, if your URL is https://client.loupe.tangent-labs.com, the server field should be populated with https://client.loupe.tangent-labs.com:4500.
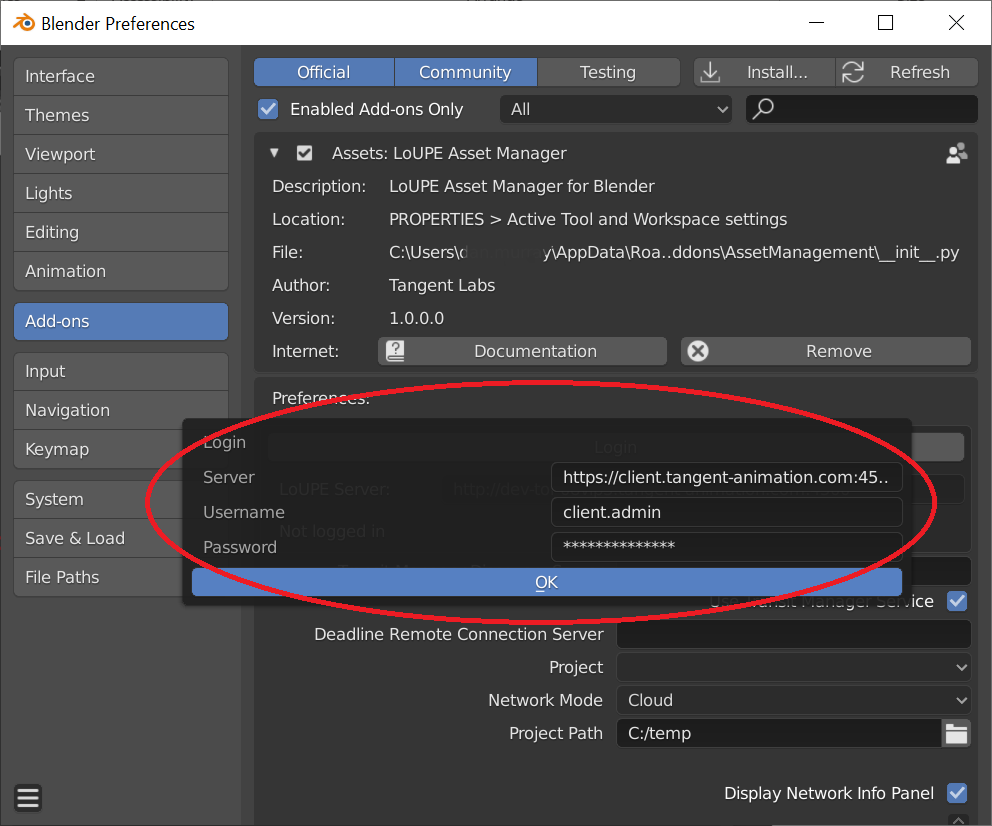
The Add-on preferences page will update to show that you are logged in.
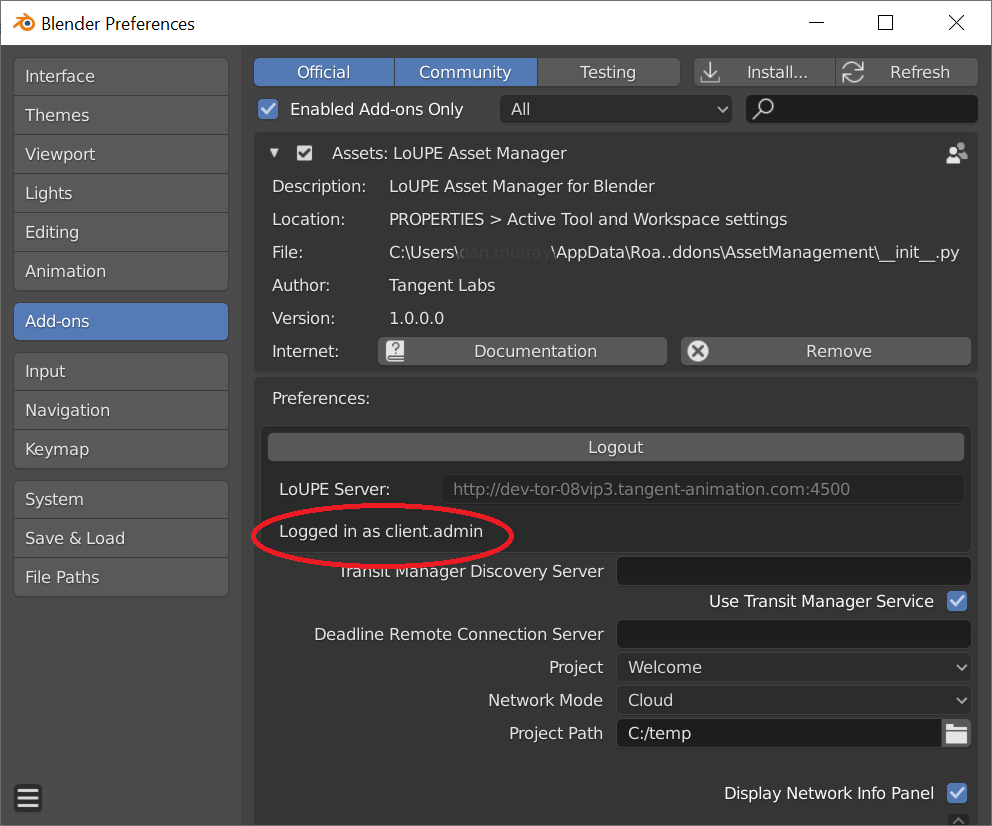
Select a Project
You will now see that the Project list is populated. There will be at least one project in the list.
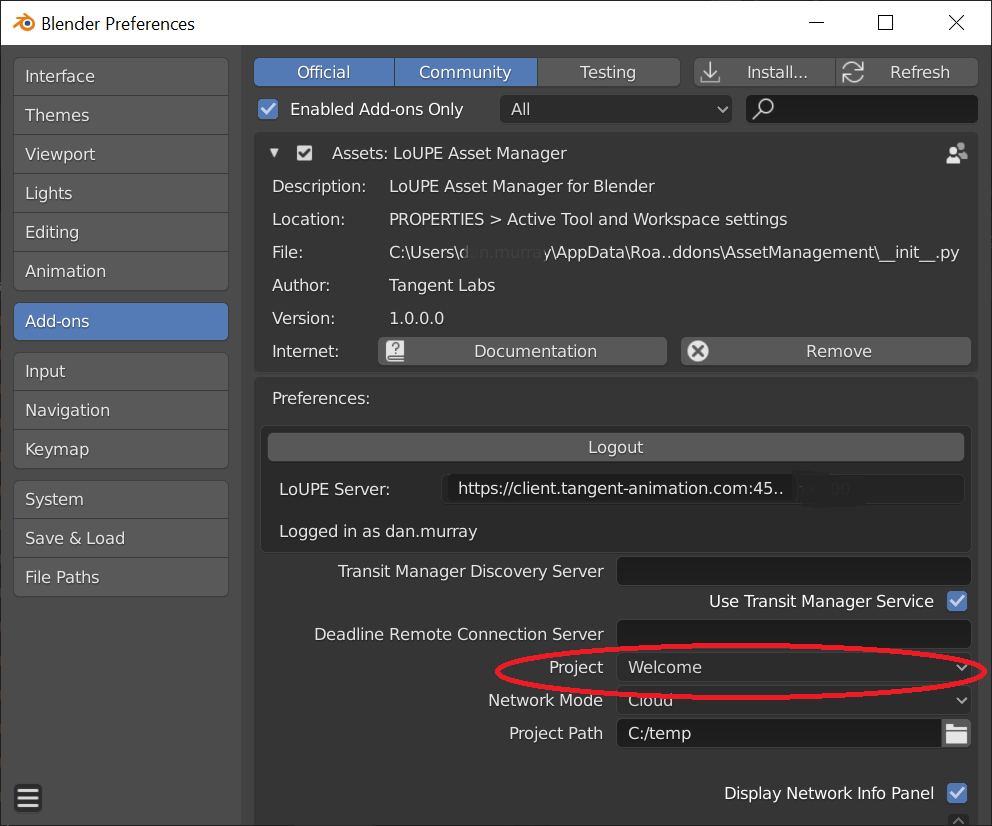
Select a Project that you want to work with.
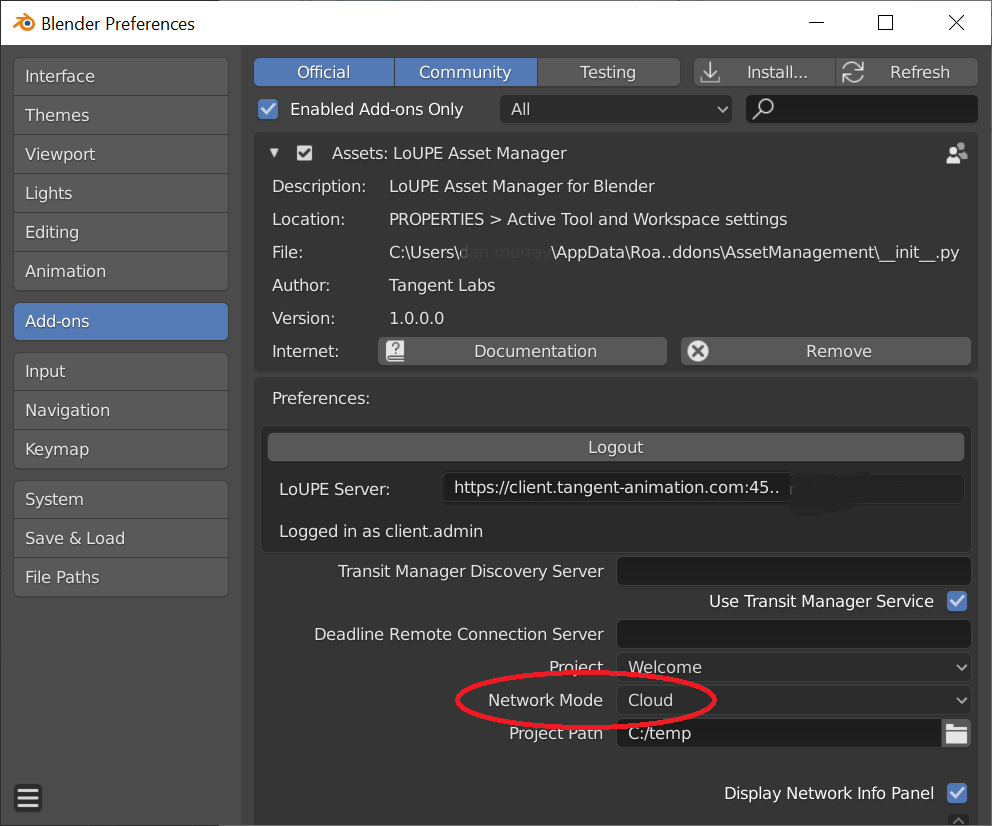
Network Mode
Set your “Network Mode” to Cloud. (Local Network Cache mode is described in greater detail in separate documentation under Advanced Settings.)
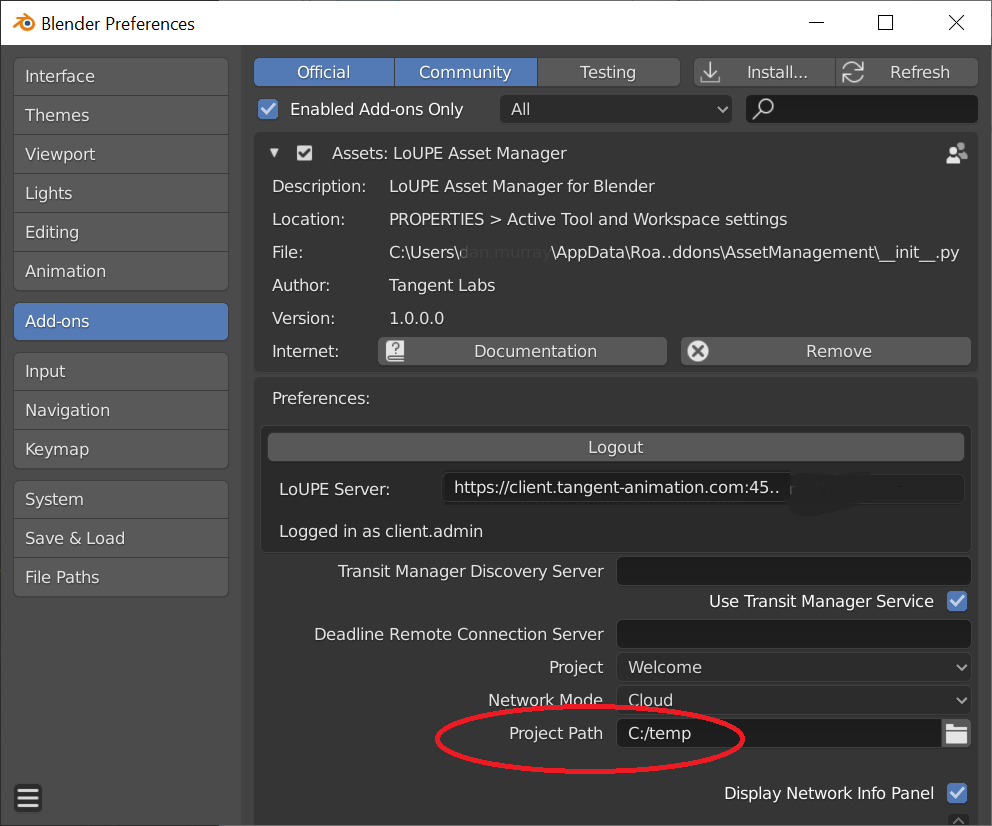
Project Path
Set the “Project Path” to configure the target directory for your local workspace. This is the root directory where all downloaded cloud data will be synched.
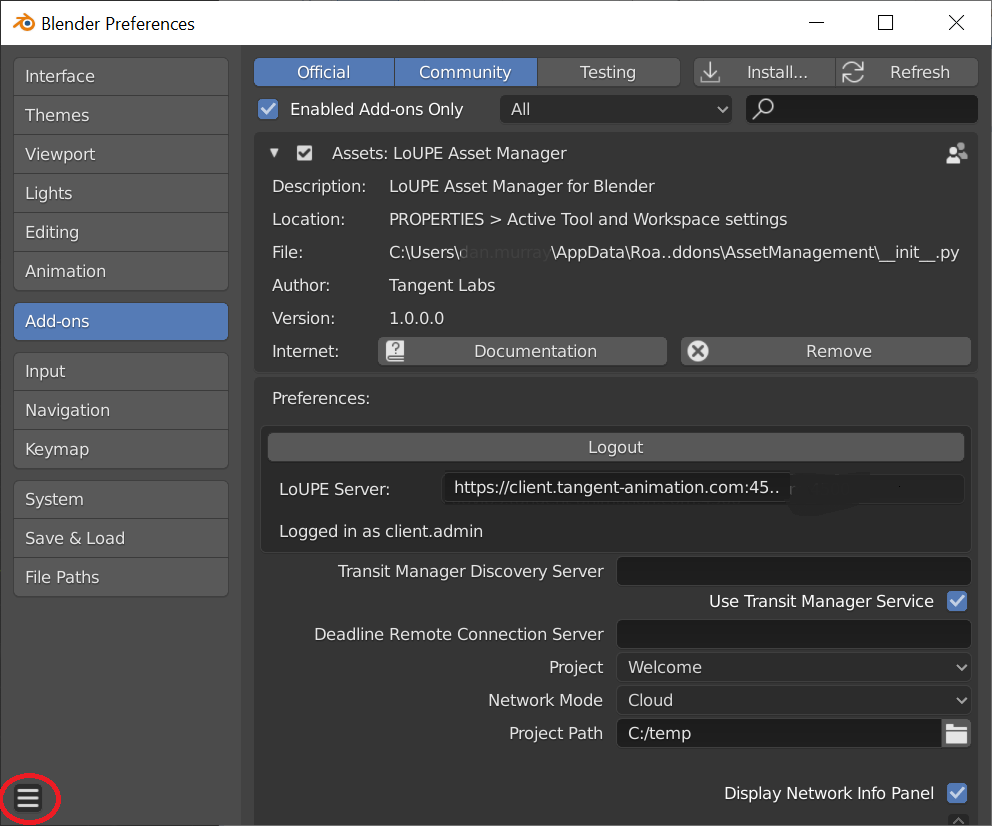
Save Preferences
Click the menu in the lower left corner of the Preferences dialog.
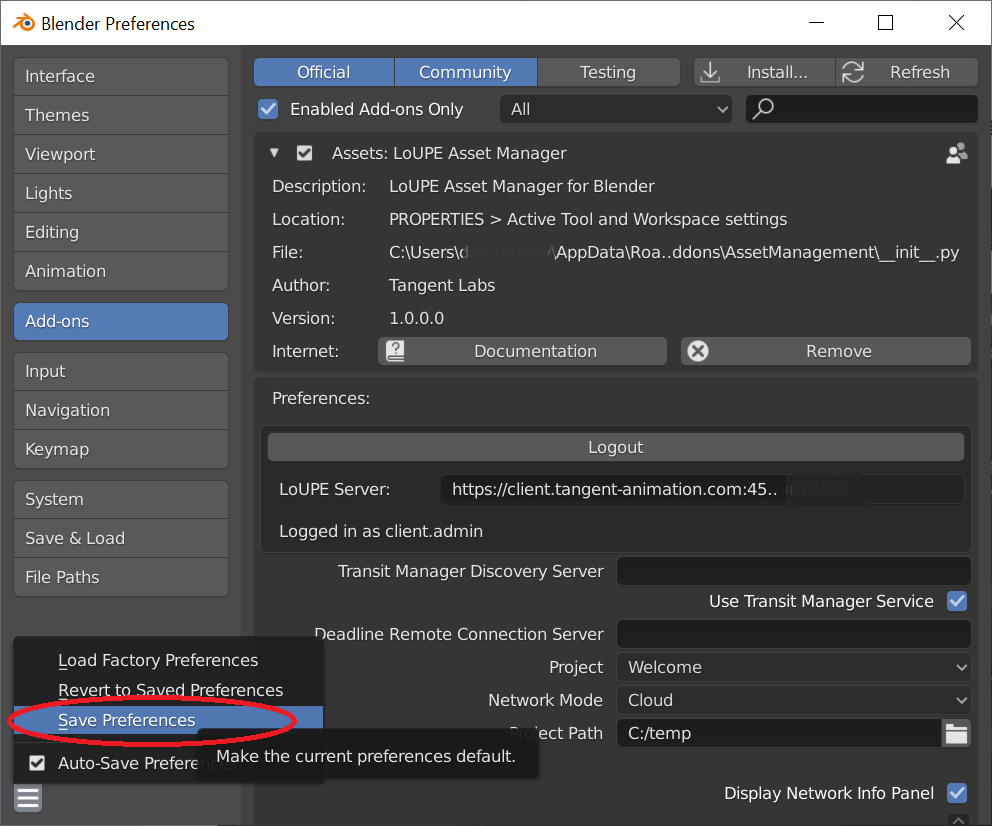
Click on “Save Preferences” to ensure that the configuration you have just completed is preserved for future Blender use. Note that you will be prompted for your login details to the LoUPE Asset Manager for Blender each time.
Also see the LoUPE Asset Manager for Blender User Manual for more details on its usage.
