Installation
Prerequisites
Prior to installing the LoUPE Suite for Blender, you must have a certified version of Blender installed from one of the Blender Foundation’s msi installers. If you do not have it installed, you must do so first. We support v2.81 and higher only. Installers can be found on the Foundation’s downloads page here: https://www.blender.org/download/
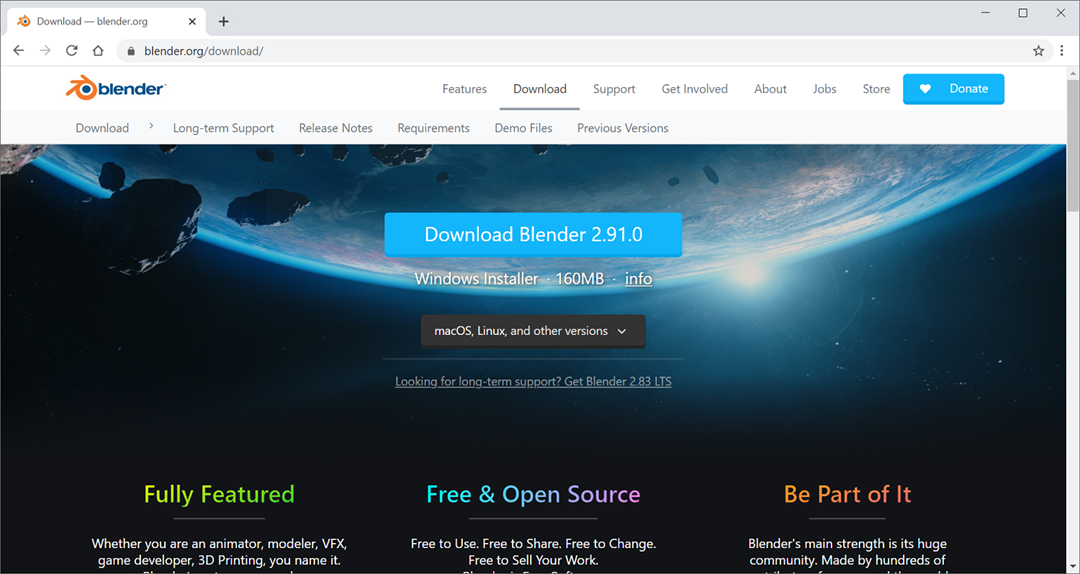
Please download and run the installer if required.
LoUPE Suite Installation
Run the Installer
Navigate to the location where you have extracted the LoUPE Suite .zip file. Double click on the installer .exe file to run it. If you do not have permission to do so, you may require assistance from your network administrator.

Initiate Installation
Click Yes on the system dialog that appears, to allow the installer to proceed. You will see the LoUPE Suite install welcome dialog.
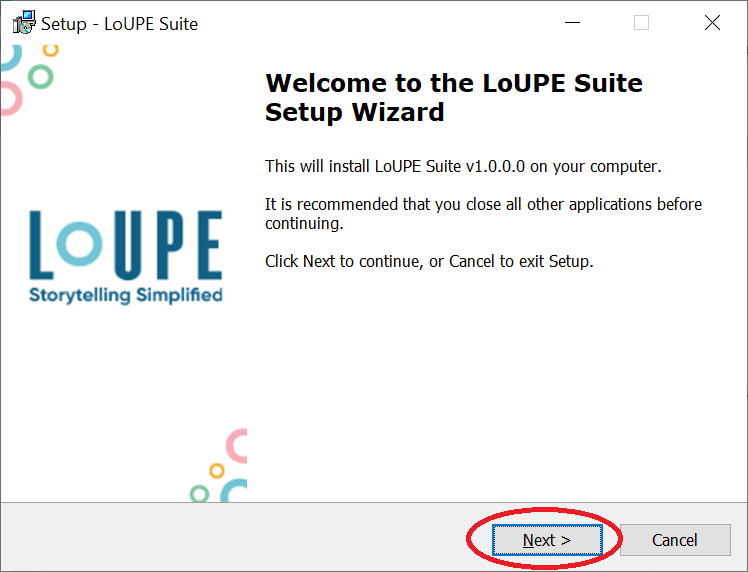
Click on the “Next >” button to proceed.
Licensing Agreement
You will see the license agreement dialog.
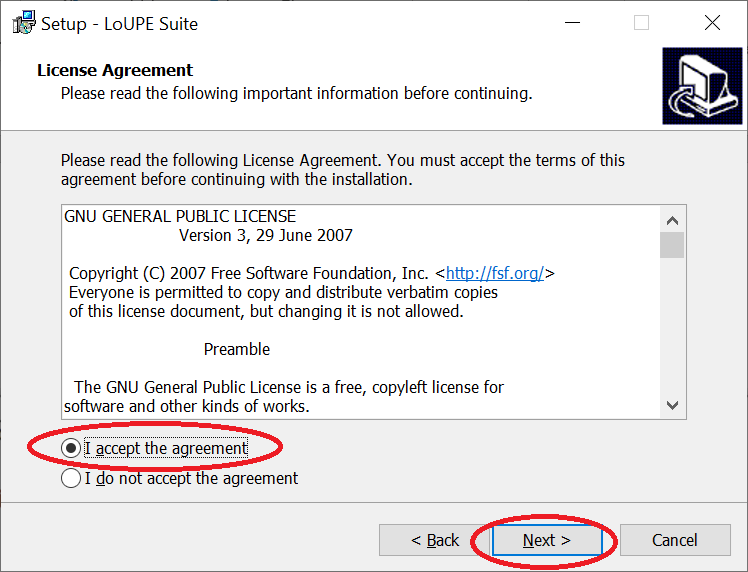
Click “I accept the agreement” and the “Next >” button.
LoUPE Suite Information
You will see the LoUPE Suite information dialog.
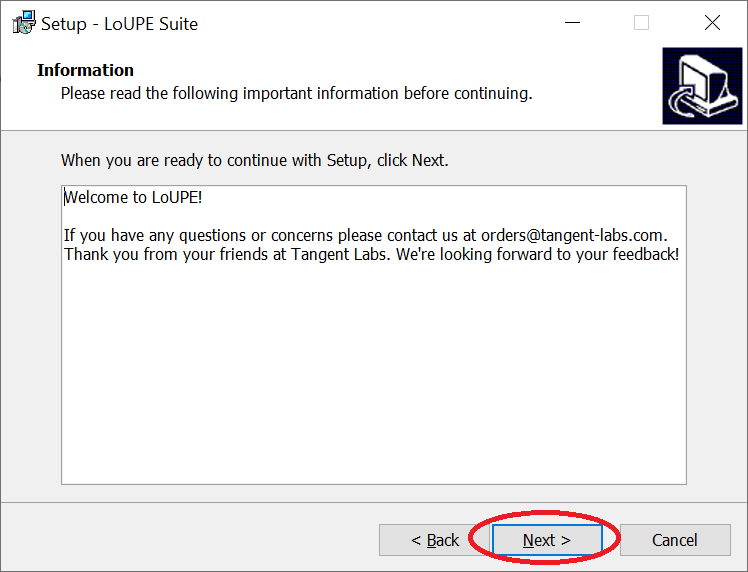
Click on the “Next >” button to proceed.
Install Location
You will get a dialog to set the install folder location. You can use the “Browse…” button to change from the default if required.
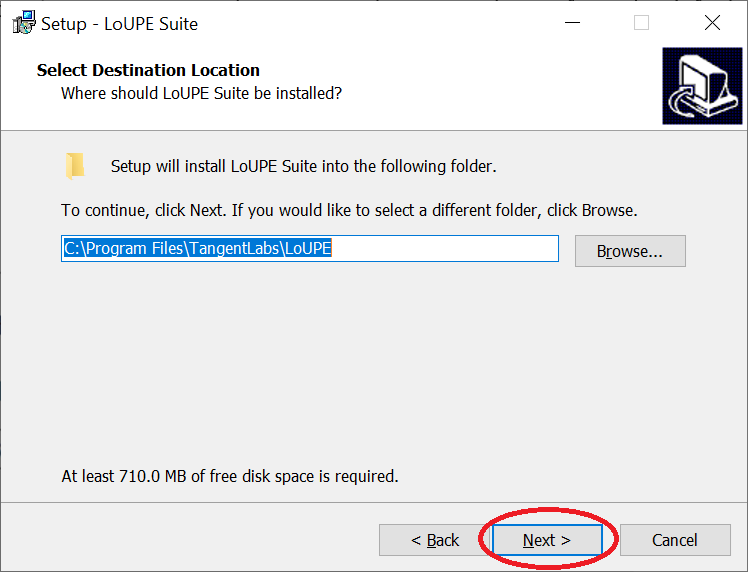
Click the “Next >” button to proceed.
Component Installation List
You will see a dialog showing the components selected to be installed and disk space requirements. If installing for Blender only, de-select Addons for Maya. The Thinkbox Deadline Client is optional and required only for rendering.
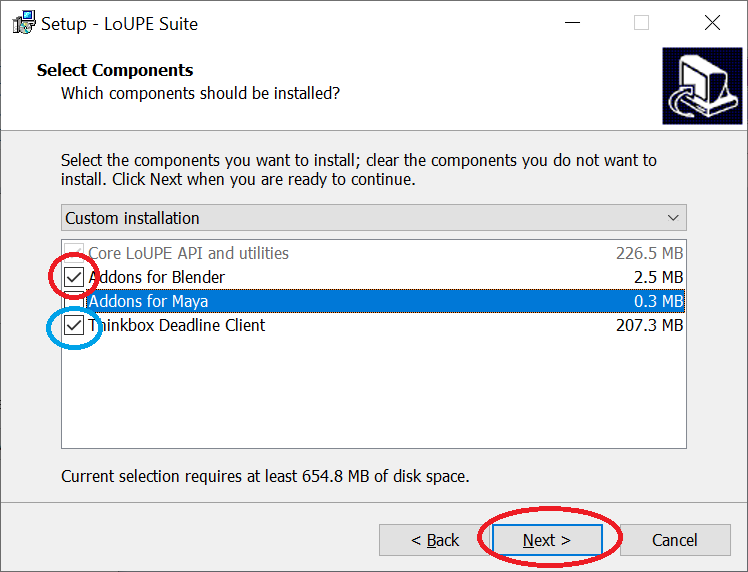
Click the “Next >” button to proceed.
Blender Install Location
You will be presented a dialog to browse to the location to install the LoUPE addons.
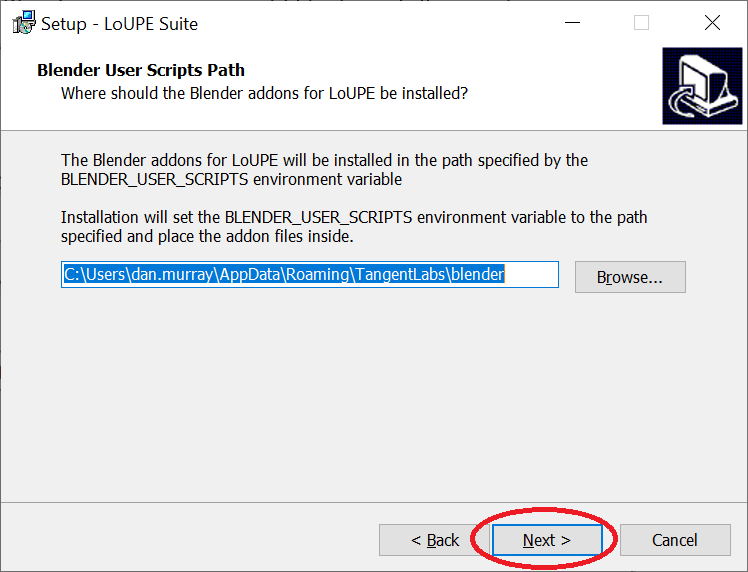
You can use the “Browse…” button to change from the default and browse to another directory if required.
Click the “Next >” button to proceed.
Thinkbox Deadline (optional)
You will see an informational screen with Deadline installation details.
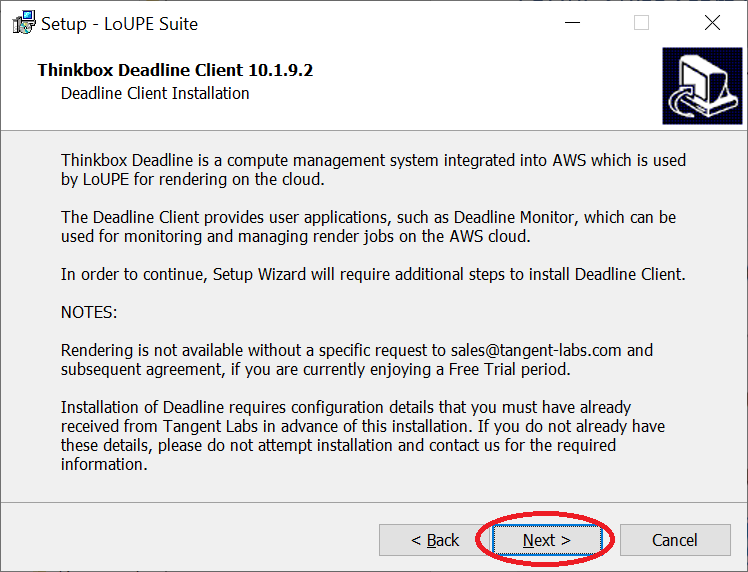
Click the “Next >” button to proceed.
Deadline Install Location (optional)
You will be presented a dialog to browse to the location to install Deadline.
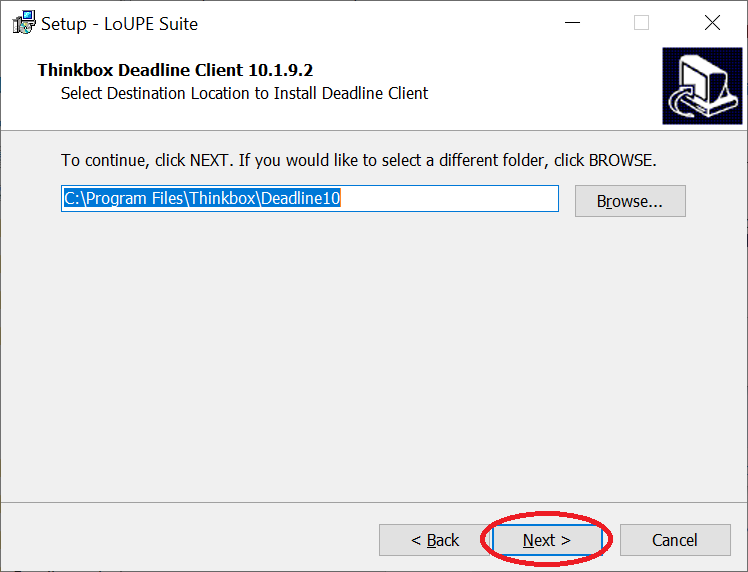
You can use the “Browse…” button to change from the default and browse to another directory if required.
Click the “Next >” button to proceed.
Deadline Server Address
You will be presented a dialog to enter the Deadline server Id and port number. This will have been sent to you via email from Tangent Labs. Please copy and paste the details from your email.
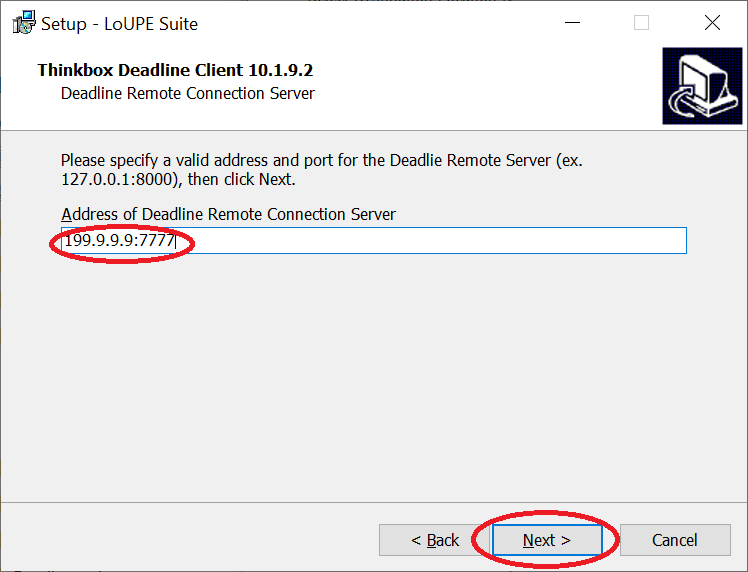
Click the “Next >” button to proceed.
Deadline SSL Certificate
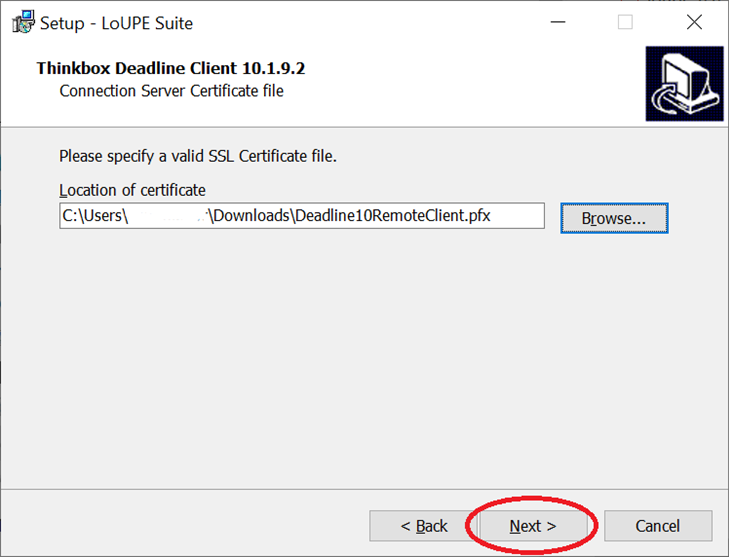
You will be presented a dialog to provide the Deadline SSL certificate. The certificate will have been emailed to you. Be sure to download the file to a location you can browse to and update here.
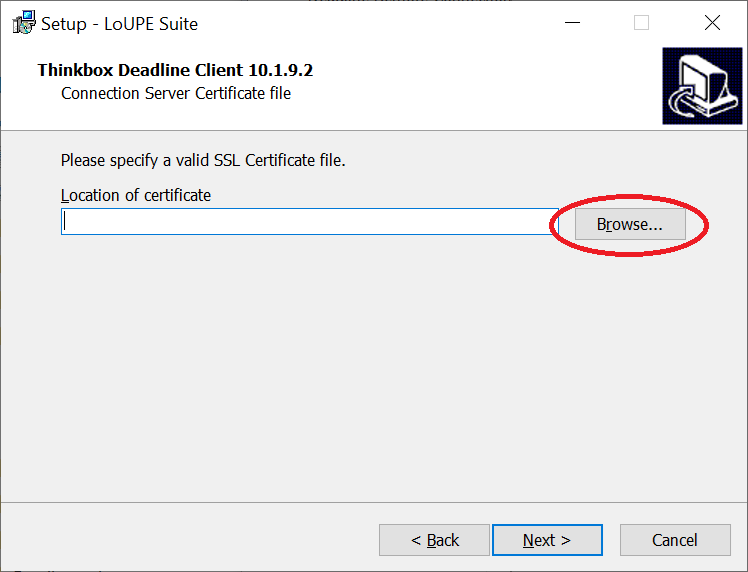
Click “Browse” to open an Explorer window.
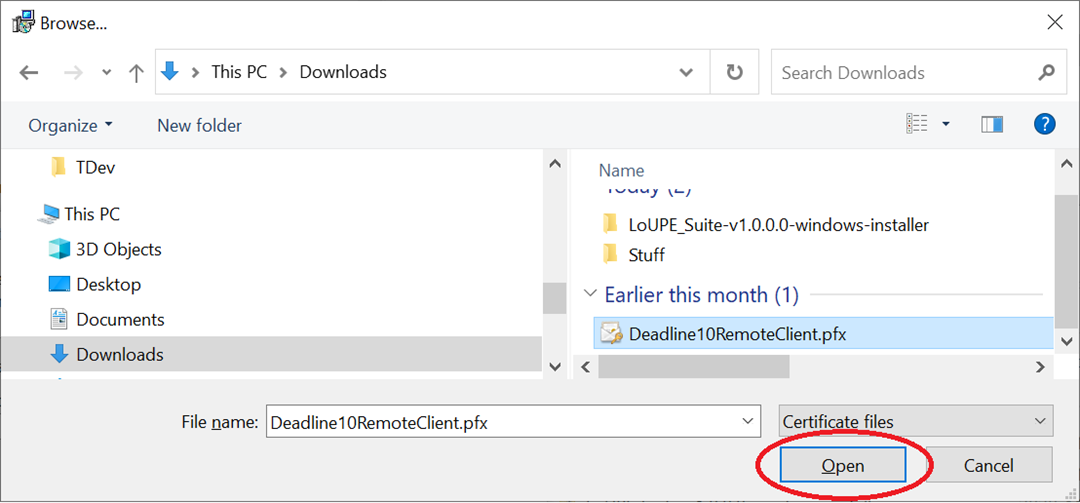
Click “Open” after selecting the appropriate file.
Click “Next >” in the certificate dialog to proceed.
Installation Configuration
You will see a dialog showing the configuration for the install that’s about to proceed.
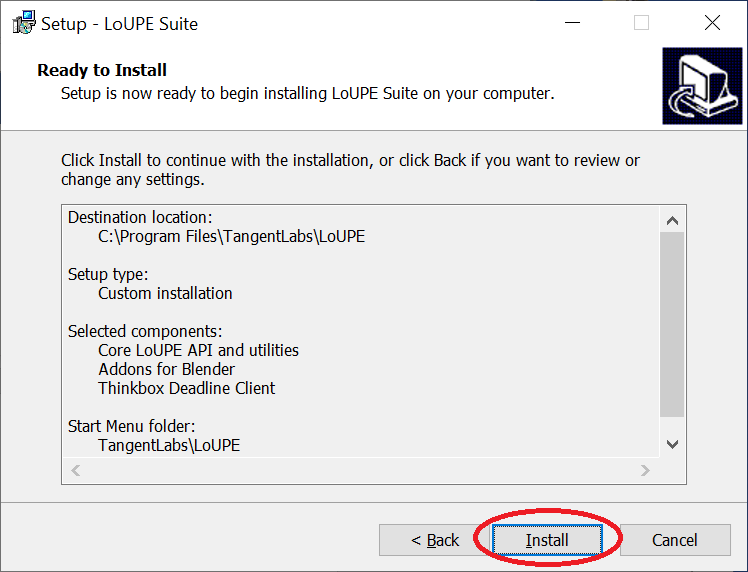
Click the “Install” button to proceed.
Installation
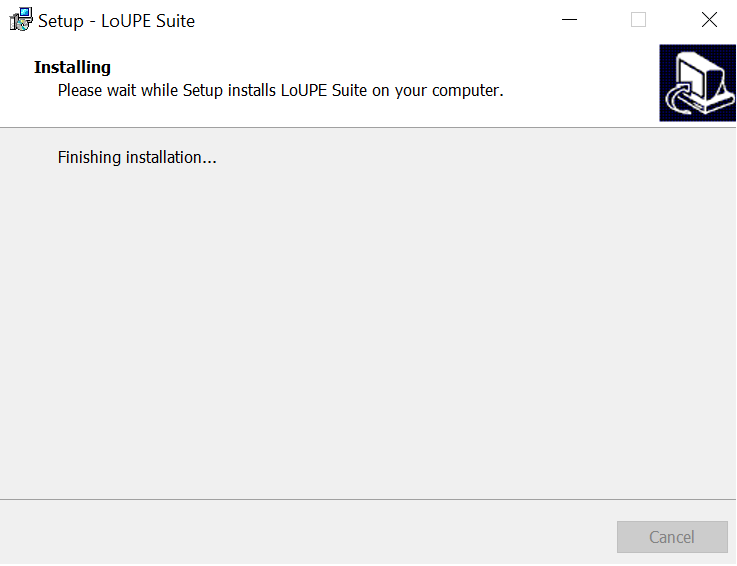
The installation will commence, and you will see its progress.
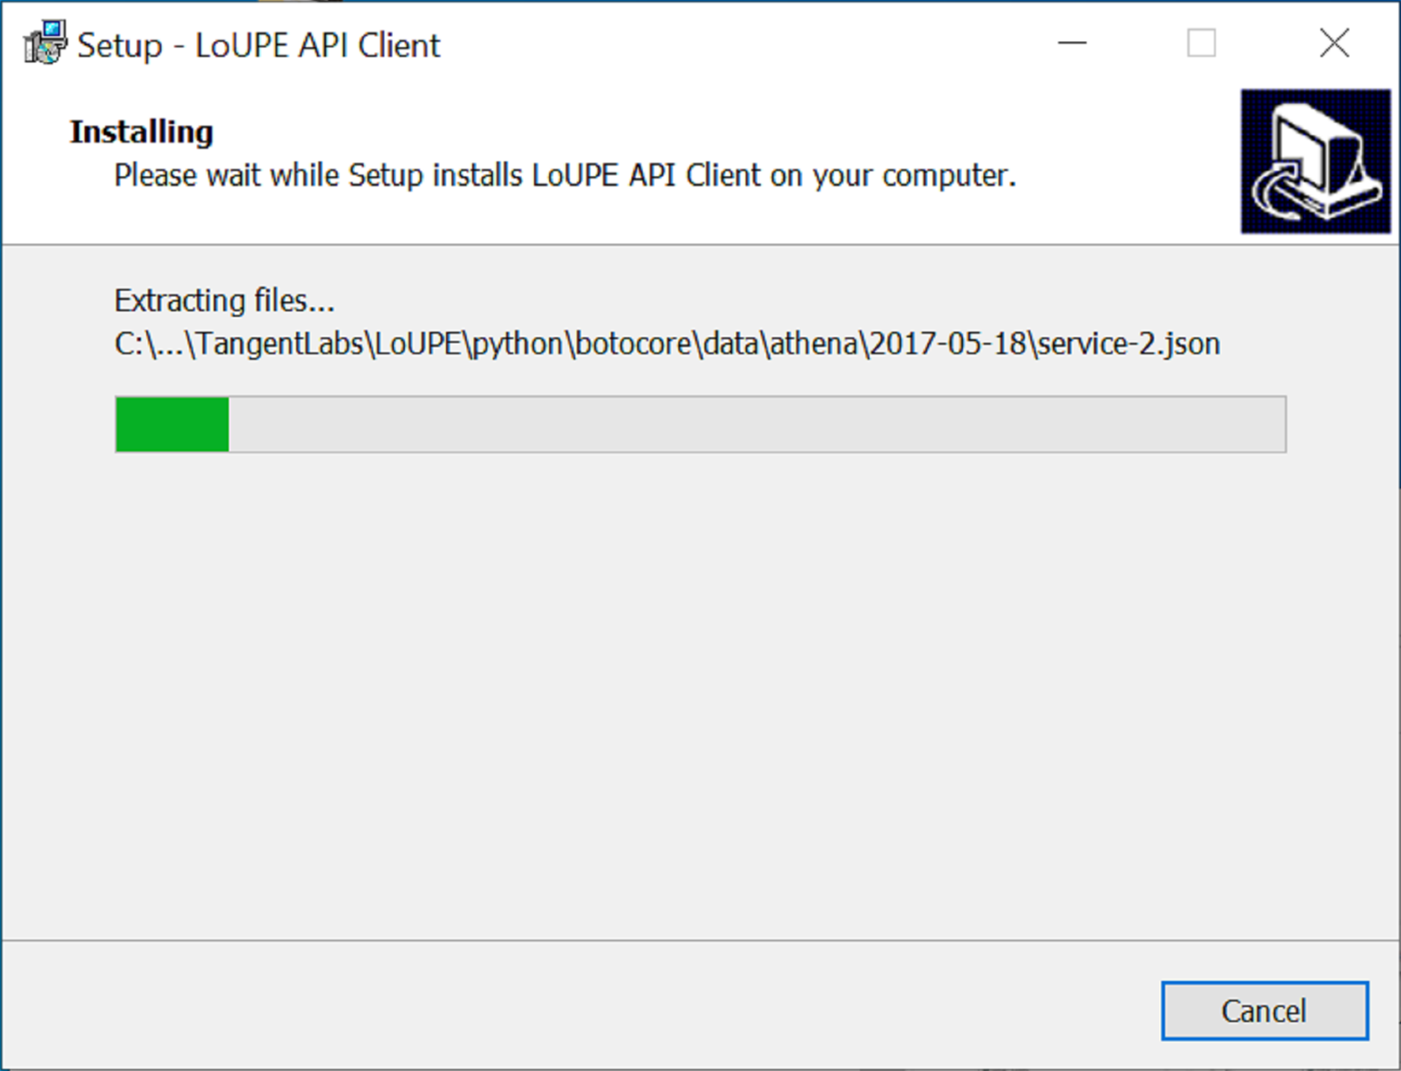
You will get a dialog indicating finishing of the Blender addons.
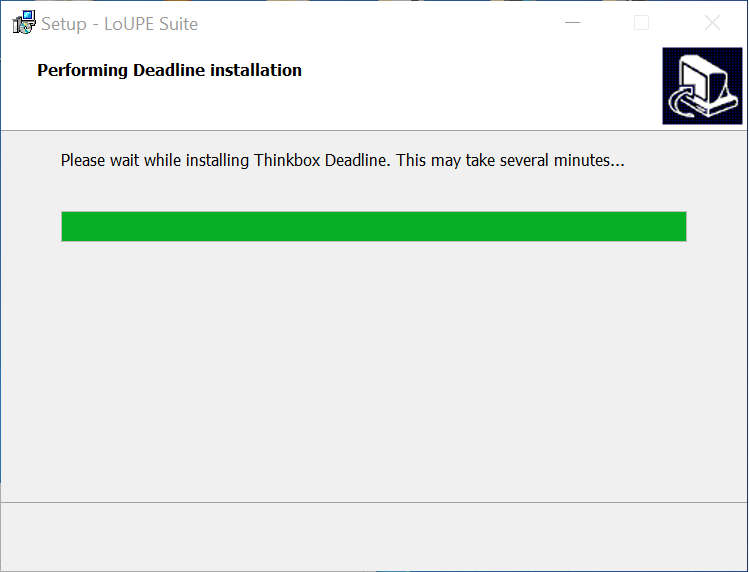
Then you will get a dialog informing you of the Deadline install.
Finally, you will see the last dialog of the installation process.
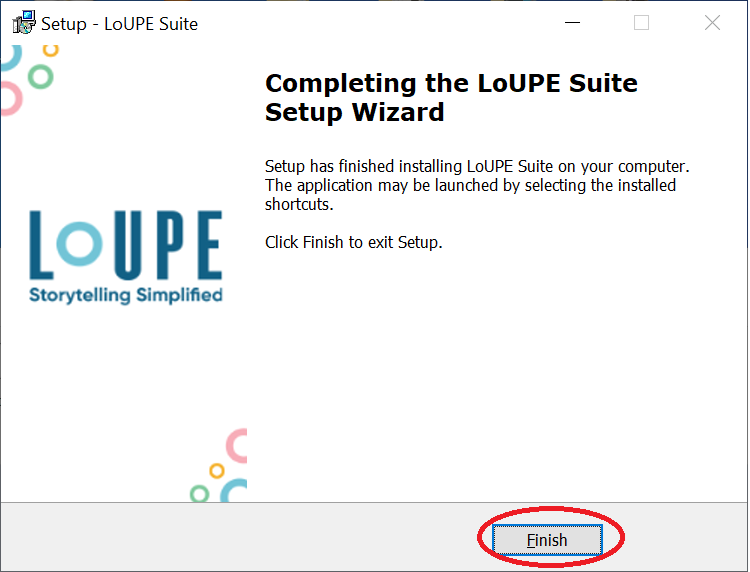
Click the “Finish” button to complete the installation.
You can now proceed to the Configuration section to get started with the Blender Asset Manager.
